

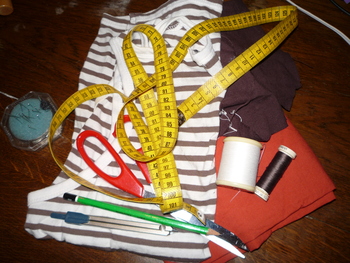
Hardware
Size
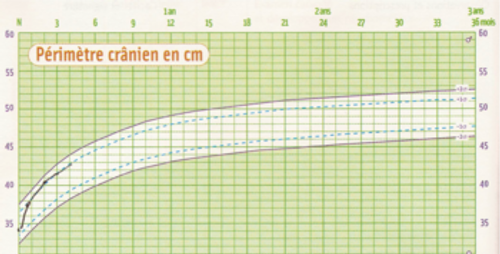
Measure around the head of the child, if you do not have the child at hand, see
the growth of head circumference in children from 0 to 3 years
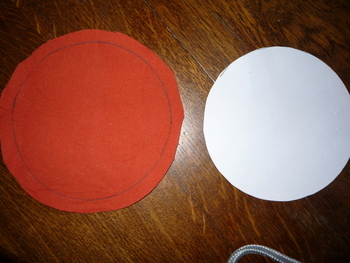
. Now we have the diameter of the circle that we go up with the band. For a round head diameter L is L / ft.
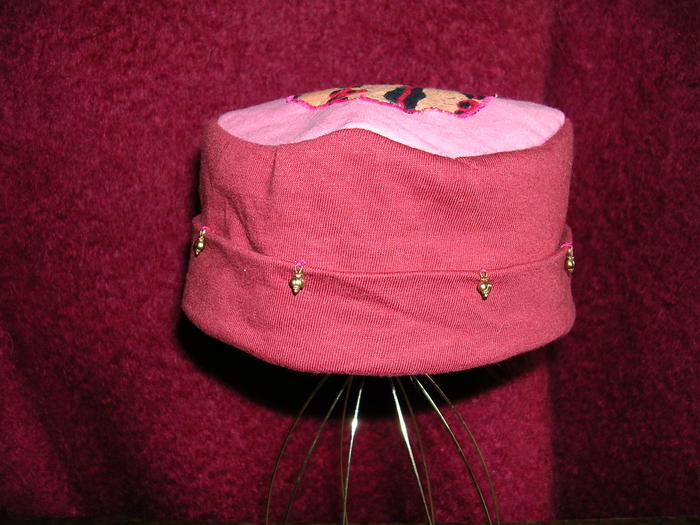
For example, I make a hat for newborn, I choose a round head of 38 cm is a bit big but it will cap any longer. I want a hat with a height of 12 cm.
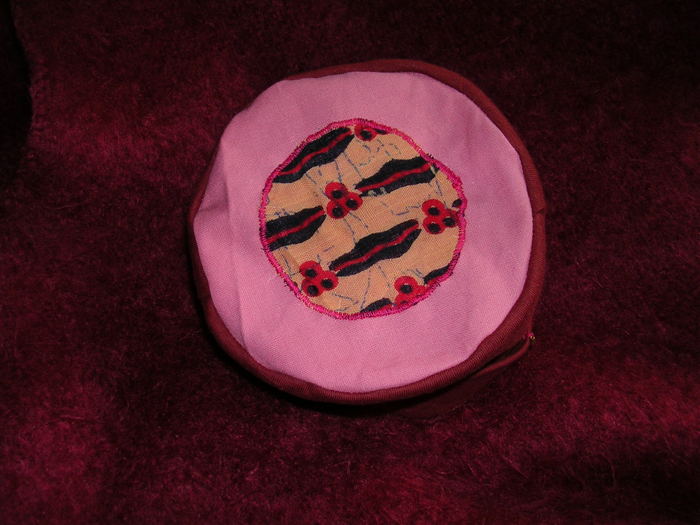
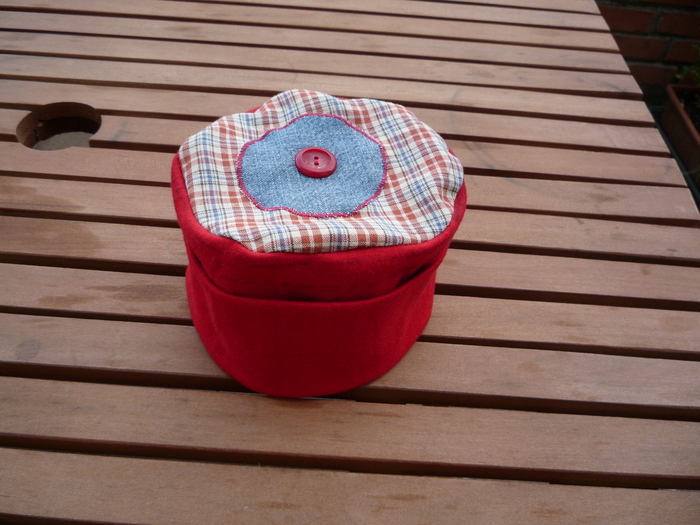
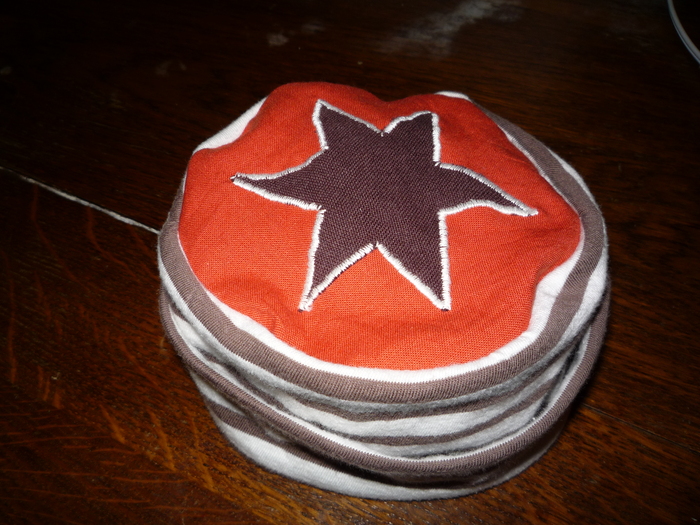
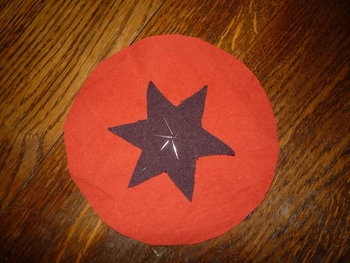
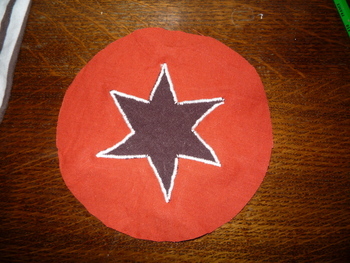
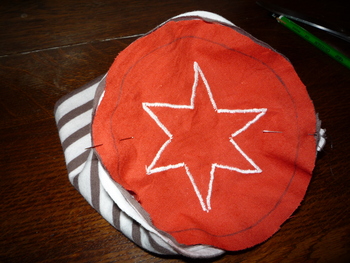
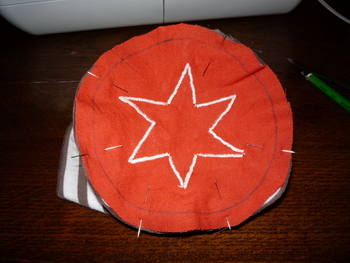
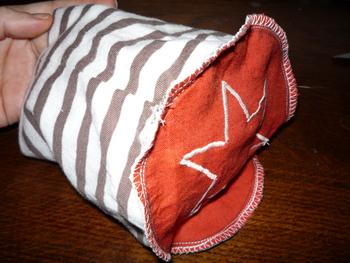
CuttingCut your pieces, and round bar, decorate the circle with a shape (circle or otherwise) applied by a button, beads, whatever you want, but do it before making the bonnet.
Remember a margin of 0.5 to 1 cm for seams!
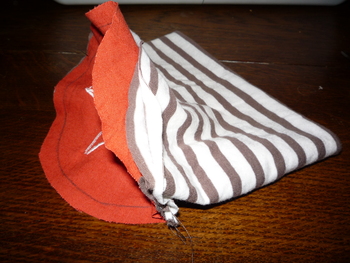
SewingWe start by preparing the strip jersey: Fold your strip in half, place against place (you see the reverse side of fabric), then sew the headband back on his half (see pictures). 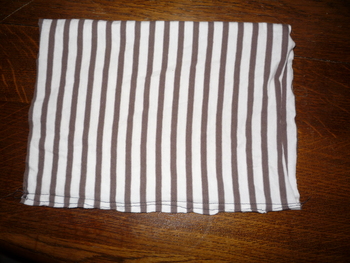
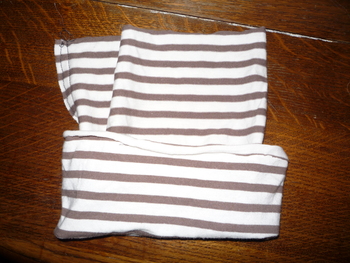
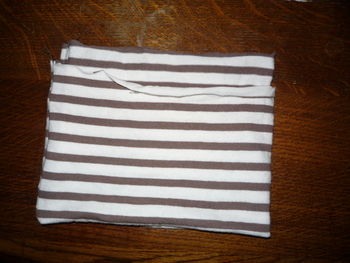
Then mount the two parts, the operation is the most sensitive ... with some method is not so difficult.
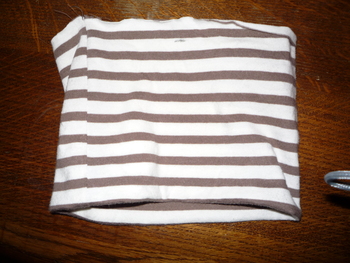
And now, more than sewing! Finish by sewing surjeteuses, turn the cap, it\'s over. 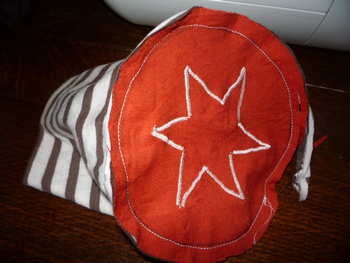
|
||


Comments
11/06/2010 07:19 par gaelle
merci beaucoup ! mon premier chapeau pour bébé est réussi :))
18/01/2010 04:20 par emilie
genial je demarre en couture et je viens d essayer c'est extra merci encore
09/01/2010 08:28 par nanou
merci ce sera mon premier ouvrage pour bébé à venir bientôt visible là http://nanoucrea.over-blog.com/
20/12/2009 11:06 par Hyper facile et super beau
Merci pour ce tuto. Bonnet plus que splendide!!! Le mien est tous blanc avec un motif appliqué fleur en rouge et blanc. Il fera partie de ma panoplie cadeau de naissance pour une amie. Merci et encore merci. Des tutos comme cela, j'en redemande
26/11/2009 06:47 par angélique
génial, mon filleul va être content!
25/10/2009 09:00 par christelle
Je viens de le finir c'est vraiment facile pour un beau résultat. Merci
23/07/2009 02:57 par caro
un seul mot me vient... CHAPEAU!
10/07/2009 11:34 par Béa
c'est une super idée que tu as eu. bravo
15/04/2009 10:21 par génial
il me manquait la façon de calculer le disque du dessus...merci encore ma fille le porte quasiment tous jours...même quand il fait beau et il est en polaire.
09/02/2009 08:35 par karine
bonjour! super le bonnet! je viens de finir le mien, je l'ai fais en réversible! en fait j'en ai fais 2 que j'ai cousu sur l'endroit et ça rend pas mal!!! merci pour tout :) karine
24/01/2009 08:41 par bosoleil
Bonjour et félicitation pour ce tuto ! Je vais certainement faire comme tant d'autres, aller à la recherche de T shirts pour en fabriquer pour tous les Bb que je connais. a bientôt bosoleil
15/01/2009 11:24 par Joëlle
Merci pour ce tuto et les idées récup ! Je pense que je vais faire des heureux grâce à toi !
13/01/2009 10:32 par Cirkotte
C'est excellent! ça donne envie d'en faire pour toute la famille! Merci pour ce partage!
12/01/2009 08:57 par Ervallou
Merci pour le tuto ! Je vais très certainement le tester pour mes trois p'tits loups
11/01/2009 10:28 par marilou
merci je suis en train de faire un bonnet pour mon fils et après j'attak le père. Il est super ton tuto
09/01/2009 10:44 par anne
MErci beaucoup pour ce tuto. Je viens de l'utiliser pour faire un bonnet à mon fils.
08/01/2009 01:30 par lilietrucs
merci il est tres sympa ce tuto... je vais vite faire mes armoires pour trouver de vieux t shirts sympas...
11/12/2008 12:47 par Marieve
Et voilà un nouveau tuto! Laissez des commentaires, ça fait toujours plaisir! Merci.